

Mini Sculptures and the lesson plan that couldn't stop...
Step 1: How it all began: I'm at a new school without a Kiln and slim resources to boot. So I ordered these tiny packets of sculpt it air dry clay...when I say tiny... think like a chewing gum packet. Here is the link at DickBlick: http://www.dickblick.com/products/sargent-art-sculpt-it-air-hardening-clay/

My plan was to think SMALL - actually more like TINY for my students to make their sculptures. I love to tie artist and literature into my pieces so who else to do sculptures with than Claes Oldenburg! That's where the idea came from creating Oldenburg sculptures in reverse...instead of giant POP ART sculptures...we made minis.
 Step 2. We did a little research on sculptures and Oldenburg. I showed them a power point or 2 with various images of his work. I merged and added to a some power points I found that I really liked and you can use it here: http://www.authorstream.com/Presentation/huskeyj72501-2427133-mini-clay-sculptures-oldenburg-reverse/
Step 3: What is POP ART? My students kept thinking it meant "pop up" like a pop up book. BOO... they are in Jr High. So after 1000 discussions I decided to combine the 2 (pop art & pop up) into the piece.
Step 4: Pop Art ideas and sketches...sky was the limit.
Step 5: How to work the clay using additive, subtractive, slipping and scoring to create our mini sculptures.
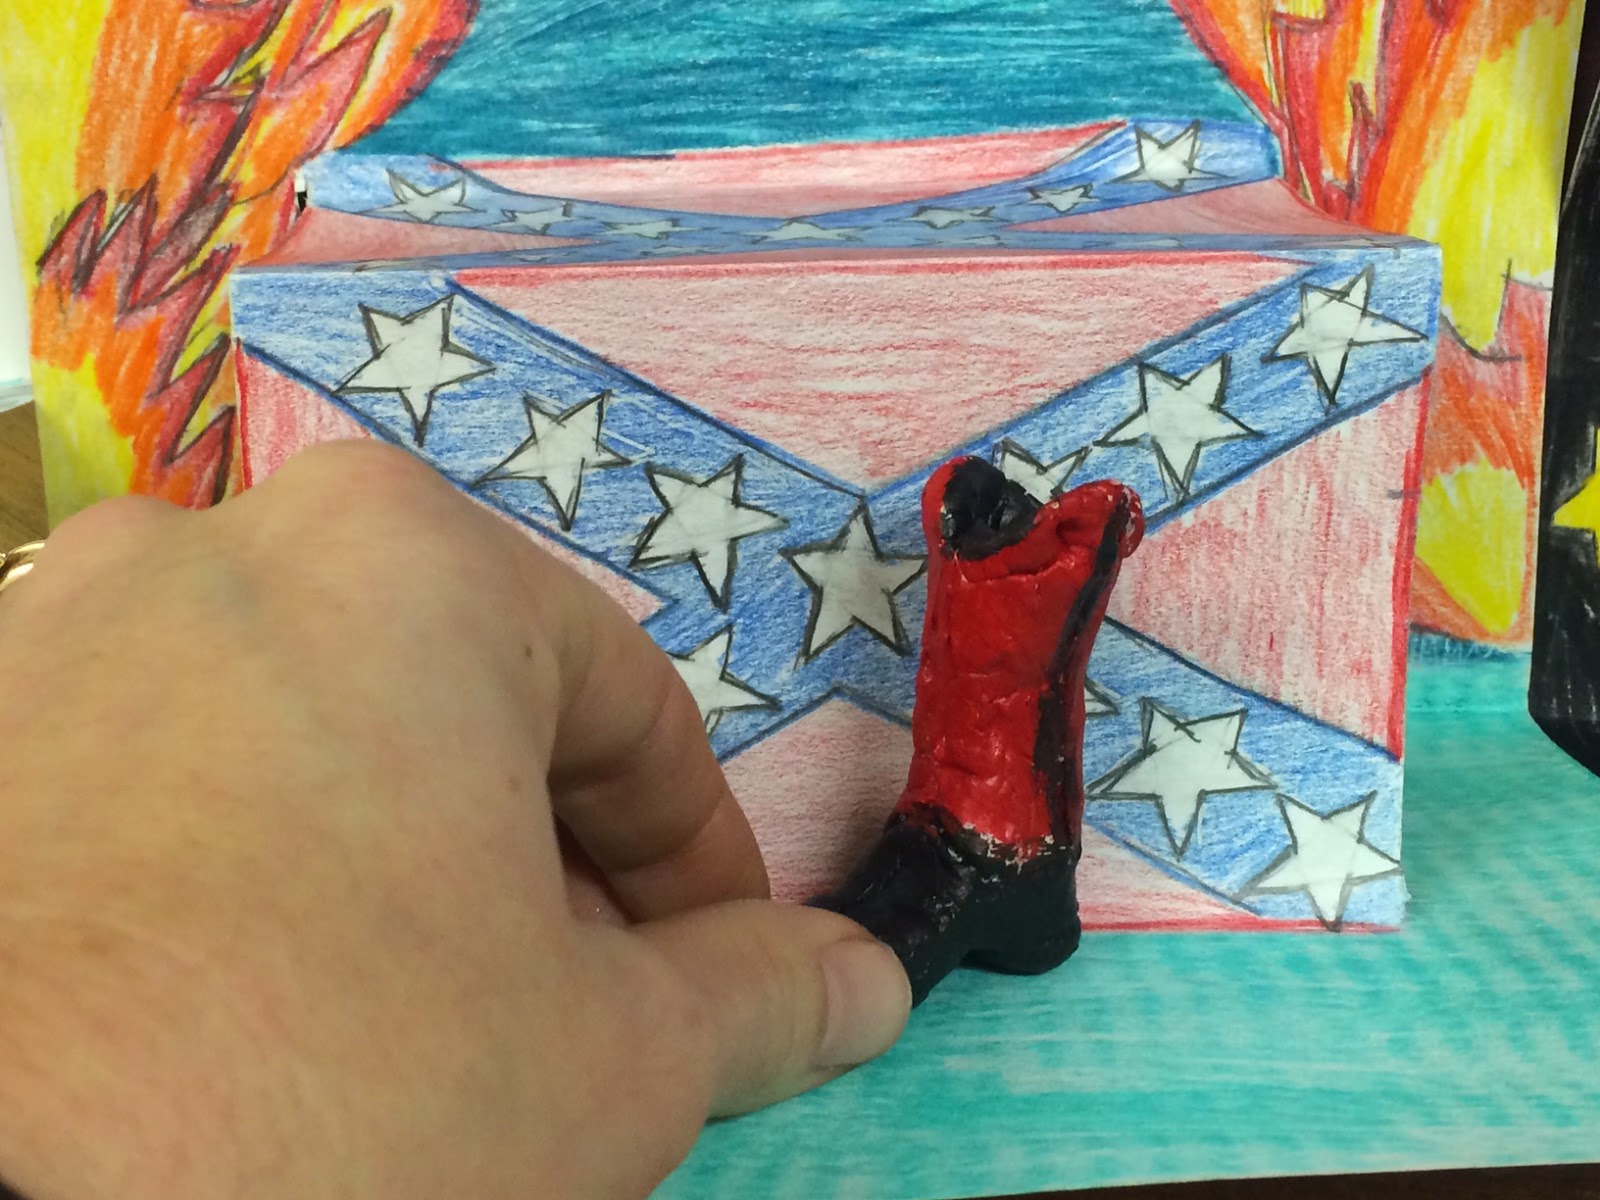
.JPG) Step 6: How to make a Pop UP back ground... like a greeting card. They had to decide what they would make pop out, if they needed anything popping out, etc.
Step 6: How to make a Pop UP back ground... like a greeting card. They had to decide what they would make pop out, if they needed anything popping out, etc.Step 7: Use their clay piece to scale their background designs (in colored pencil).
Step 8: Acrylic painting & glazing
Step 7; Writing our stories... Can't Wait!
Their pieces are priceless!!
And the Oscar goes too...


.jpg)


.jpg)
.JPG)
.JPG)
.JPG&container=blogger&gadget=a&rewriteMime=image%2F*)


.JPG)


.JPG)


.JPG)


.JPG)


.jpg&container=blogger&gadget=a&rewriteMime=image%2F*)